1.1.
Article assignment (initial filling of the LinkDB)
1.1.14. LinkDB export (directly or via CSV file) |  |
| Prev | Next |
1.1.
Article assignment (initial filling of the LinkDB)
1.1.14. LinkDB export (directly or via CSV file) | |
| Prev | Next |
When exporting to the LinkDB it doesn't matter whether the assignments between CSV catalog and PARTsolutions catalog have been made manually or automatically and with which template. The following explanations apply independently of the previous approach.
![[Note]](images/note.png) | Note |
|---|---|
When exporting to the link database it is only about a transfer to another data storage, in other words it's not about linking / assignment. This already happened in the process before. | |
In an intermediate step the product data with the link information of CSV and PARTsolutions catalog can be exported in a CSV file first. Then later the CSV file can be imported into the link database.
In this section the export shall be explained exemplarily from A to Z.
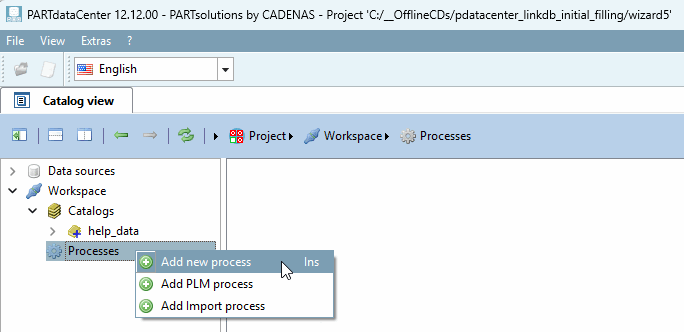
First, a process must be created for the export.
Under Processes, click on the context menu command Add new process.
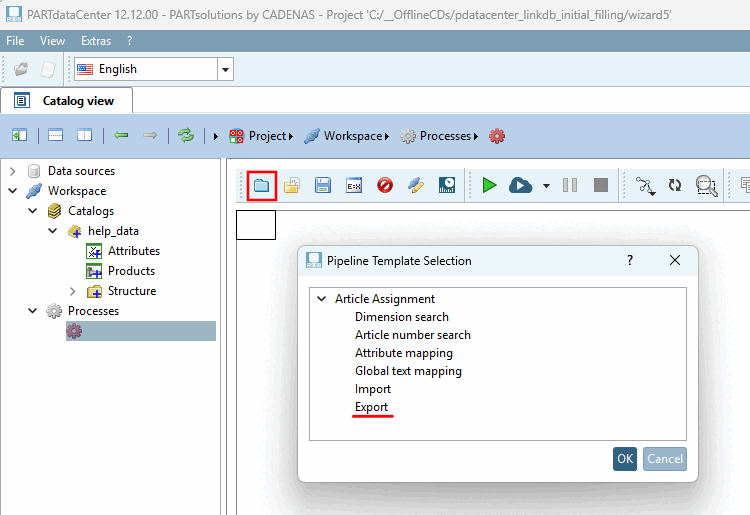
Click the Load predefined button
template
 . -> The Pipeline Template Selection dialog box opens.
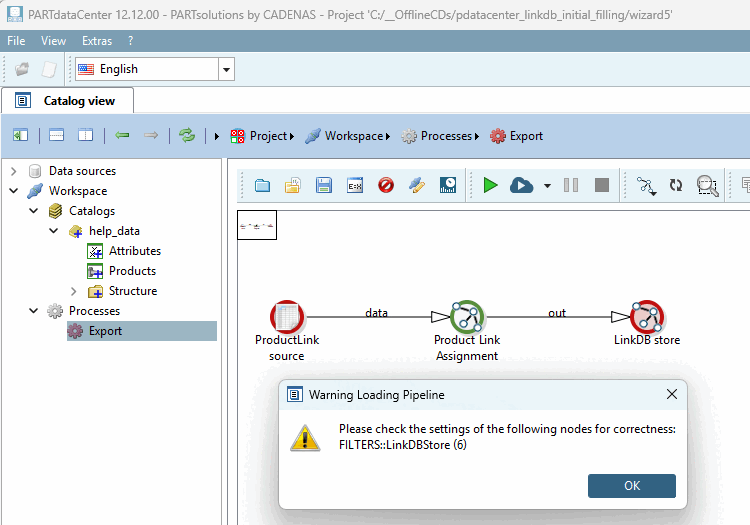
-> The export pipeline is now displayed in the right-hand settings area. The warning merely indicates that the correct, desired settings still need to be made for each node. Simply confirm with .
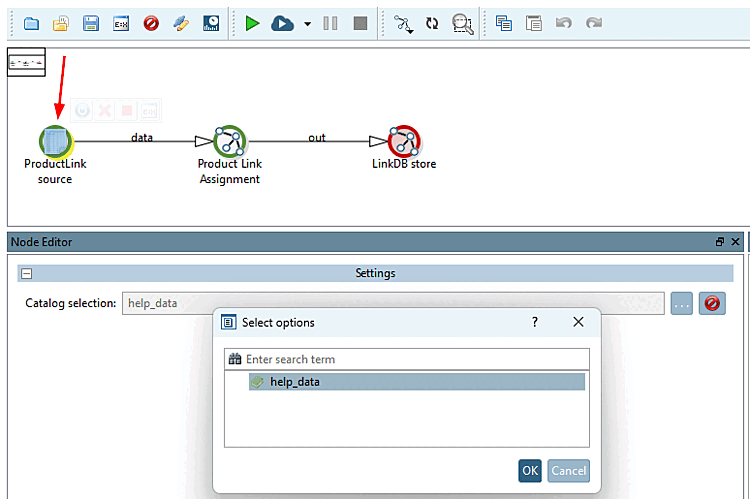
Product link source [ProductLink source]: Use the Browse button to select the source catalog (created from the CSV file).
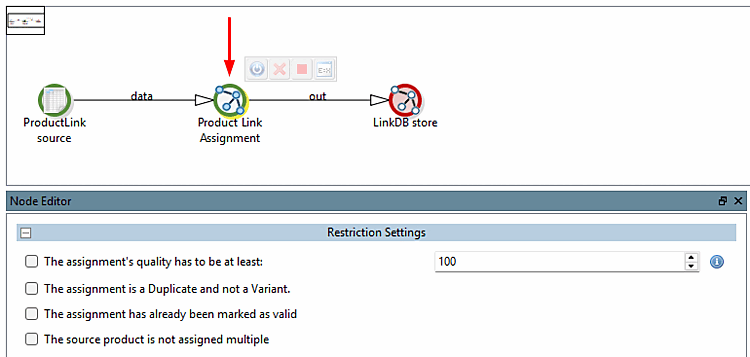
Product link assignment [Product Link Assignment] (optional): Specify the conditions under which the export should take place. You can select only one condition or combine several.
You have the following options available:
The quality of the assignment must have a value of at least [The assignment's quality has to be at least]: xy
The assignment has to be marked as valid
See Section 1.1.10, “Validate Mappings” and Section 1.1.16.4, “Product view - Context menu commands”.
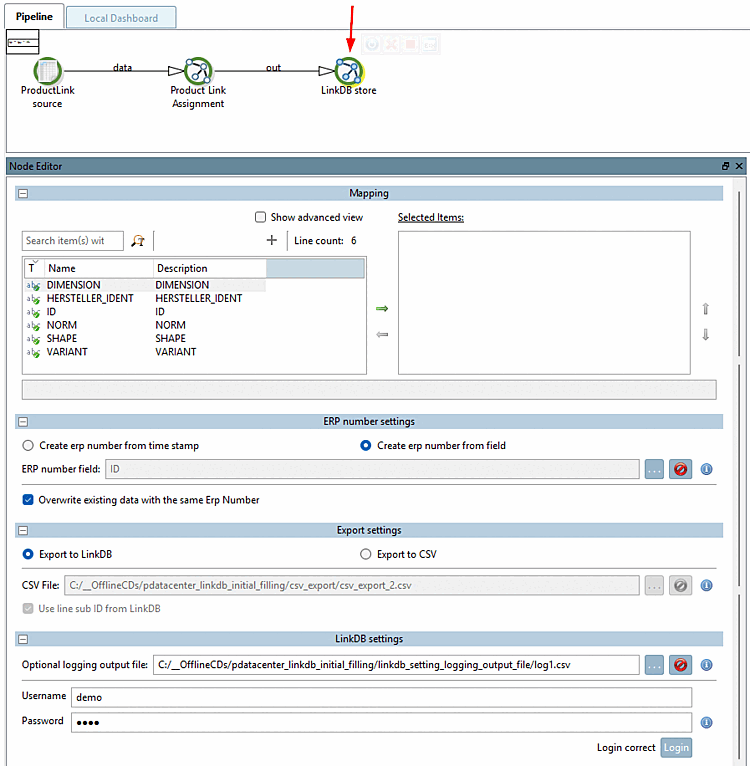
Link DB Storage [LinkDB store]:
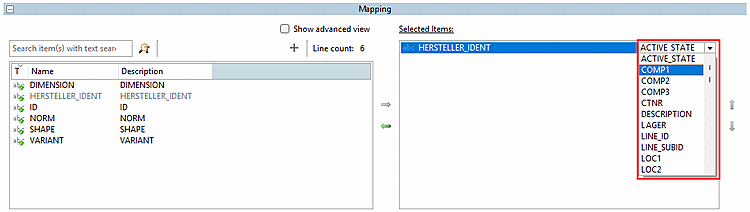
Assignment [Mapping]: Specify the mapping between CSV attributes and LinkDB variables. This is optional; you can also leave the Selected Items area empty.
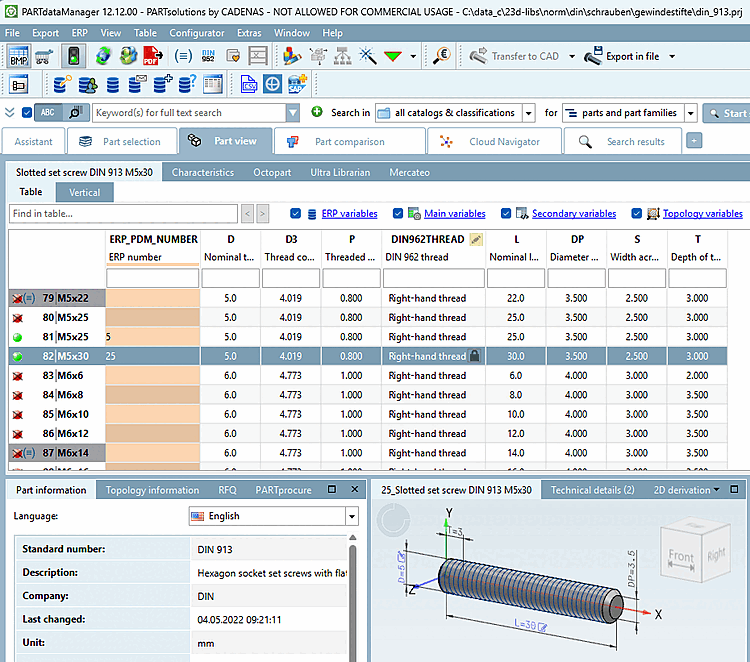
Settings for the ERP number [ERP number settings]: Determine how the field for the ERP number (ERP_PDM_NUMBER) should be filled.
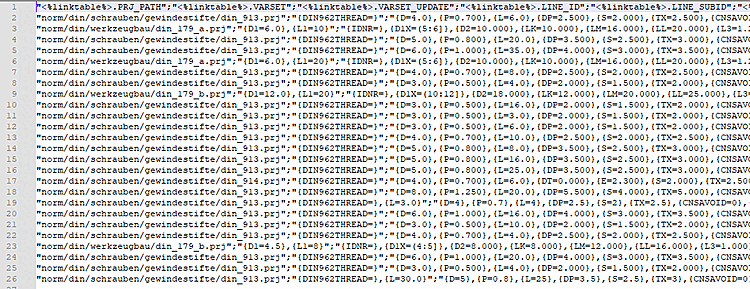
Export settings: Specify whether the export should be made directly to the LinkDB or first to a CSV file.
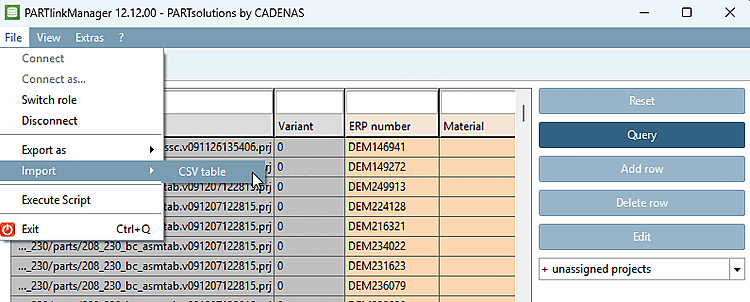
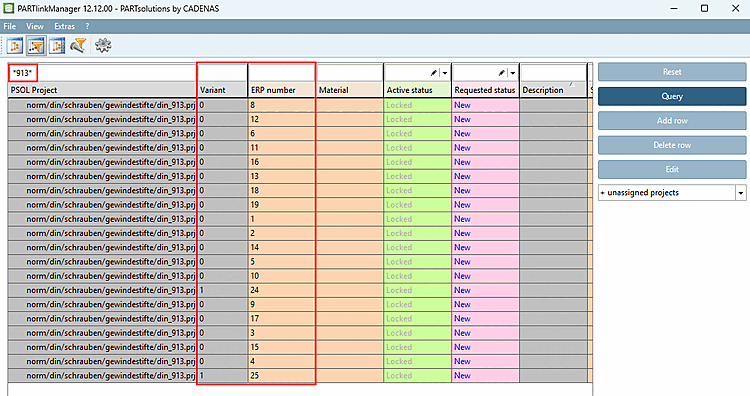
If you want to export to a CSV file, import it in the PARTlinkManager via File menu [File] > Import > CSV table.
You can find a description of this under Section 5.27.4.1.6, “ Import -> CSV table ” in ENTERPRISE 3Dfindit (Professional) - Administration.
LinkDB settings: Enter your user name and password [Password] here and click on . A message appears to confirm that the login was correct.
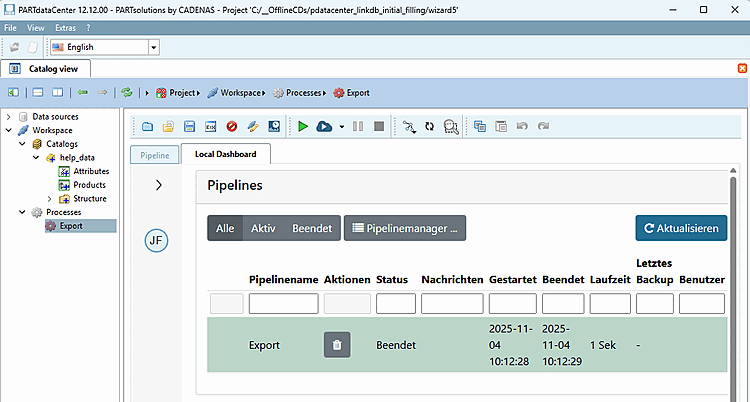
Click on the Start button to execute the pipeline.
-> You will now see a corresponding entry on the Local Dashboard Tabbed page.