4.5.1.2. Server Client
Installation 4.5.1.2.1. Server
Installation |  |
| Prev | Next |
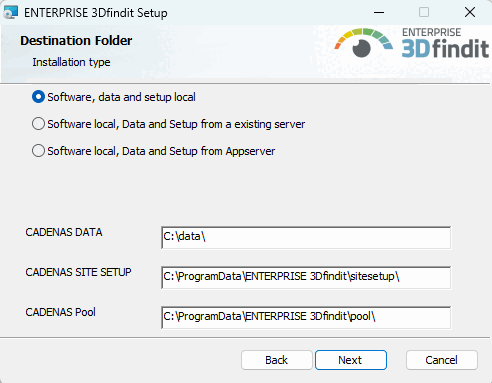
For a server installation, select the option Software, data and setup local [Software, data and setup locally] in the installation routine under Target folder [Destination Folder] and adjust the paths of CADENAS DATA, CADENAS SITESETUP and CADENAS Pool as desired.
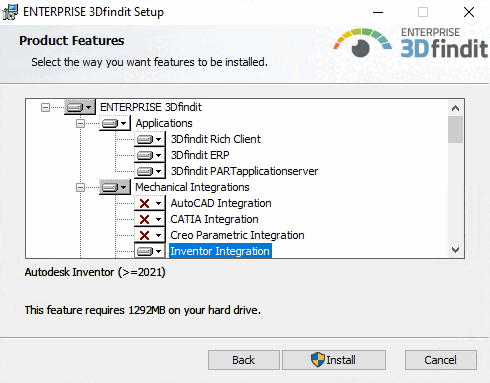
Select the packages 3Dfindit PARTapplicationserver (among other things, the links Activate Appserver Service and Deactivate Appserver Service [see below ] appear after the installation) and 3Dfindit Rich Client (which also includes 3Dfindit ERP and 3Dfindit PARTapplicationserver ). This installs all applications (3Dfindit, PARTdataManager, PARTadmin, PARTlinkManager, PARTdataCenter, etc.). If ERP is required, it is still best to select the 3Dfindit ERP optionin order to cover all eventualities.
Furthermore select the desired integration(s).
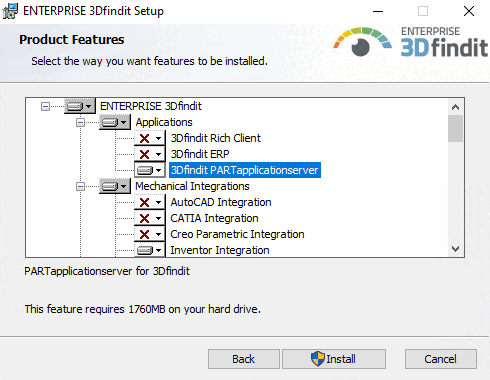
If a server is to be set up minimally without additional functionality, select the 3Dfindit PARTapplicationserver option under Applications. (PARTadmin is included.)
![[Note]](images/note.png) | Note |
|---|---|
Whenever a central PARTapplicationServer is in use, it must be started as a service. Details on the installation procedure can be found under Section 4.5, “ENTERPRISE 3Dfindit Installation ”. | |