5.12.6. Assignment of classes and features (Tabbed page "Classification")
5.12.6.1. Assign class
|  |
| Prev | Next |
5.12.6. Assignment of classes and features (Tabbed page "Classification")
5.12.6.1. Assign class
| |
| Prev | Next |
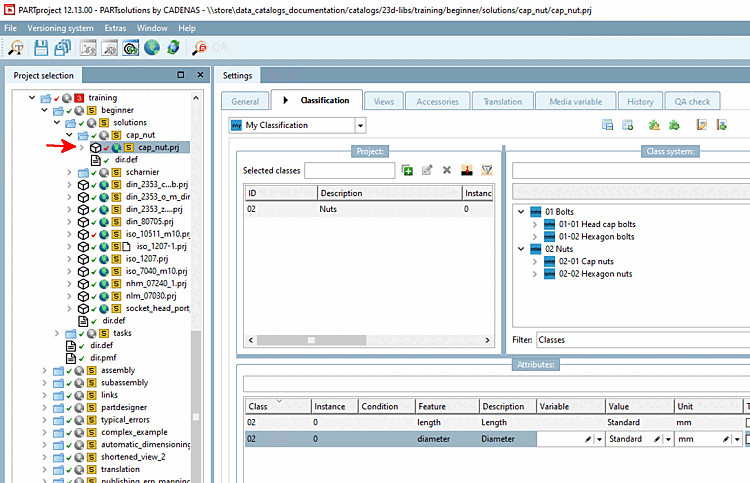
To classify a component, i.e. to assign it to a specific class, proceed as follows:
Select the project file of the component that you want to classify.
Select the Classification Tabbed page and then the desired classification in the list box.
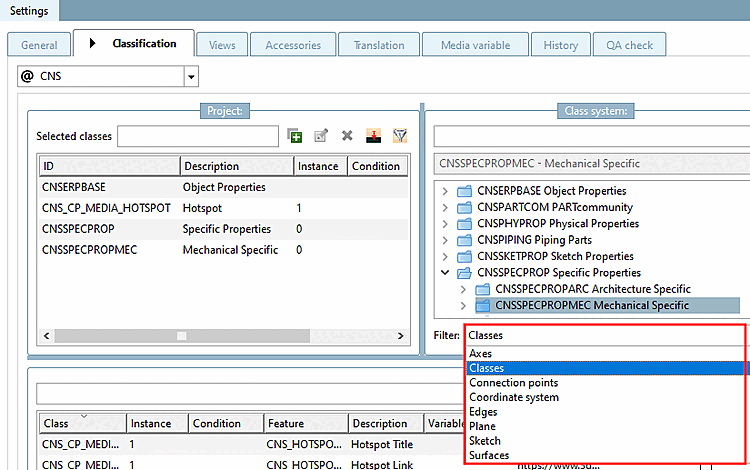
Select the desired class type under Filter. You can find details on this at Section 5.12.6.1.1, “ Class types ”.
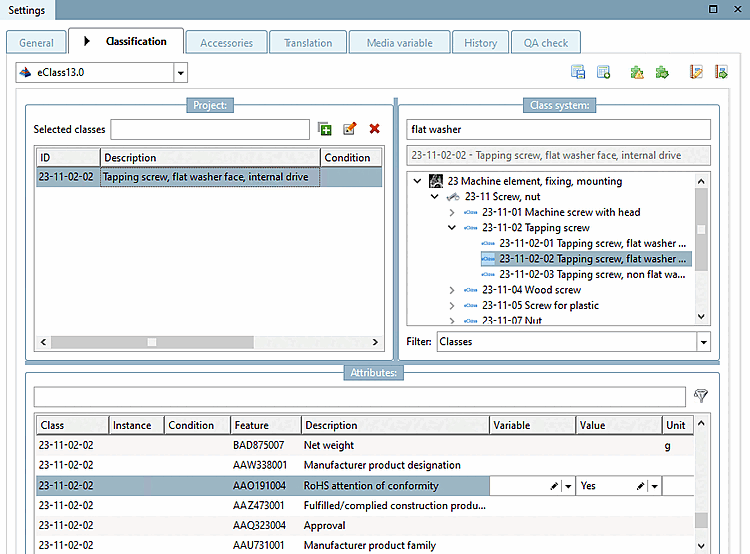
Under Class system, select the appropriate class in which the selected component is to be included.
It is helpful to use the filter to quickly find the correct class.
Assign the class by selection and click
click the Add button or double-click.
Classes can be assigned to projects, connection points and other objects. See the notes below.
If the class contains features, these are now displayed in the dialog area Features [Attributes]. (If new features have been added, they will only be visible after restarting PARTproject ). You can find out how to assign features in the next section.
Update the display index either
via PARTproject -> Update Index [Update index] button or via PARTadmin -> Index Management [Index administration] (see Section 1.4.3.6, “
Index administration
” in ENTERPRISE 3Dfindit (Professional) - Administration ), so that
the new assignments in the PARTdataManager
are displayed. The update must be carried out both for the affected
projects, as well as for classification!
or via PARTadmin -> Index Management [Index administration] (see Section 1.4.3.6, “
Index administration
” in ENTERPRISE 3Dfindit (Professional) - Administration ), so that
the new assignments in the PARTdataManager
are displayed. The update must be carried out both for the affected
projects, as well as for classification!
Do not forget to update the corresponding indexes. You can find information on this at ???.
You can also perform classification at directory level for multiple projects using the context menu command Add projects to classification. See Section 5.12.7, “ Add projects to classification (context menu command) ”.