5.8.2.1.19.
Output
5.8.2.1.19.1.
CIP catalog
|  |
| Prev | Next |
To make catalogs or classifications available for download from the Internet, for example, they can be clipped, i.e. their data size can be reduced. You enter the conditions required for this in the Clip catalogs [CIP catalog] dialog box.
On the left-hand side of the window you will see the Catalogs column. It lists all the directories that have already been clipped.
All checked directories are clipped when the button is clicked.
You have different selection possibilities available to you in the list field.
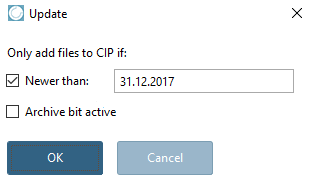
Clicking on the Browse button .. the Refresh [Update] dialog box opens (see illustration). Here you can set a date filter so that only files newer than [Newer than] are recorded. For the Archive [Archive bit active] bit set option option, please contact CADENAS support.
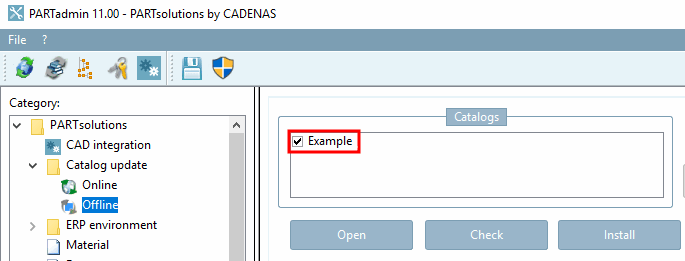
Classifications may also be cipped.
When clipping class systems, it is irrelevant what is set in the Project selection dialog area.
In this case, the Tip catalogs [CIP catalog] dialog should be opened via the Extras menu [Extras] and the entry on the left in the Catalogs area should be added manually.
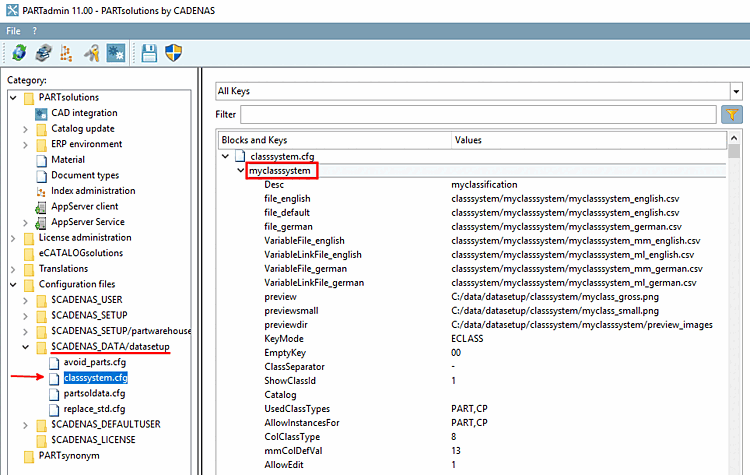
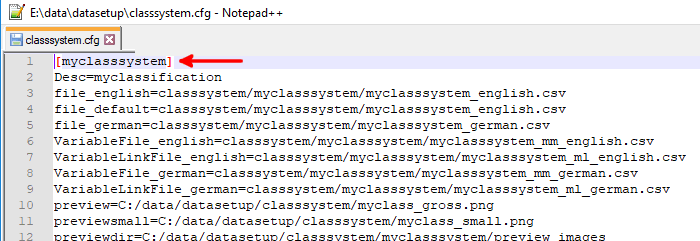
In the Classification field, the name of the classification must be entered as it appears in the configuration file classsystem.cfg. Upper and lower case should also be correct.
As with catalogs, a full-text search index can be created. To do this, activate the Create search index option.
For this selection only the indicated files will be transferred to the cip file.
The files are specified in the Additional directories field (see below).
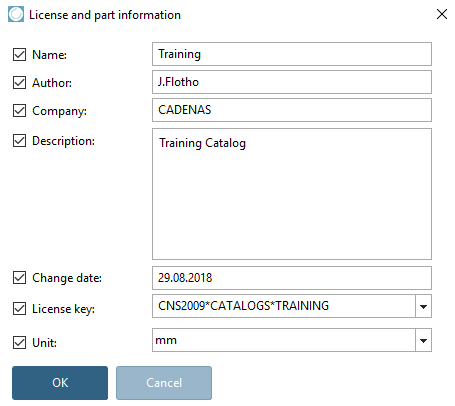
The wording specified here will be displayed later when installing in PARTadmin or when installing from DVD.
![[Note]](images/note.png) | Note |
|---|---|
If no description is entered, the description specified under Edit project -> General tab -> Catalog name or Name for installation [Name of installation] is used. The entry on the dialog page Tip catalogs [CIP catalog] has priority.[20]
| |
PSol version [PSol-Version]: Minimum ENTERPRISE 3Dfindit version required to install the cip file. If "10.0" is selected, it is not possible to install with a V9.
Directory: ...of the directory/catalog to be cipped (marked in the directory tree)
License file to ensure that the project files belonging to a catalog cannot later be opened and exported by anyone without authorization in PARTdataManager, each individual project is linked to licenses (e.g. CNS2009*Folder1*READ or CNS2009*Folder1*EXPORT). All licenses associated with a catalog are stored in the so-called license file (extension *.cnsldb). This * .cnsldb - you will receive it on request from CADENAS - must then be entered in this field.
Catalog license : The basic license (e.g. CNS2009*Folder1) must be entered in this field. You will receive the basic or catalog license together with the *.cnsldb file.
Additional directories [Additional directories] :
If the *.cip file to be created is to include additional directories or files, enter them here.
Additional directories can contain, for example, individual help files that you have created within the Edit project menu area, Catalog help dialog page. Specification via $CADENAS...\...\....
See also above under Contents [Content] -> List field selection files [Files].
Catalog is free (No query from CNS2009*MAINTENANCE) [Catalog is free (no check of CNS2009*MAINTENANCE)] for licensed catalogs, the so-called maintenance license is queried during unzipping. If this is not available, the catalog cannot be unzipped.
The encryption ensures against manipulation. The file contains a license key, for example.
Automatically adding external files
These may be located anywhere under $CADENAS_DATA (the respective linking is located in the project file).
If you activate this option, the index for the full text search [Full-text search] is created.
If you also want to create the GeoIndex (fingerprints for the geometric search), enter values in the Percentage [Percental fraction] and Absolute percentage [Absolute fraction] fields. The default entry "-1" means that no GeoIndex is created.
Calculation example 1: 10 lines, percentage share [Percental fraction]: 10, absolute share [Absolute fraction]: 3 -> 3 lines are generated
Calculation example 2: 10 lines, percentage share [Percental fraction]: 20, absolute share [Absolute fraction]: 1 -> 2 lines are generated
The larger of the two values is therefore always used. The time for generating and the storage space for the fingerprints on the hard disk is roughly proportional to the number of lines.
Register page Test [Test catalog] catalog (see Section 5.8.2.1.16, “ Test project / Test directory ”)
| Note |
|---|---|
Before you can begin to make settings in the individual fields, the option Perform tests must first be activated. | |
Automatic Classification of standardized Parts
If a new release CIP is generated via PARTproject a new release CIP is generated, this process automatically searches the catalog for standardized parts. All NNs and NTs are scanned to see whether they contain one of the following "key terms" PLUS a number (e.g. DIN 123). If this is the case, the project is automatically
assigned to the class of the standard project found in the standards classification. Projects classified in this way are displayed in the PARTdataManager with the standards icon  icon.
icon.
DIN, ISO, ANSI B, NF E, VDI, UNI, NAS, NASM, BSI, ASNA, JIS, CSN, STN, GOST, JB/T, NIHS
EN, SN, LN, AN, SN, BS, IS, KS, GB, PN, GB, MS, VG
Unfortunately, incorrect classifications often occur, especially with the 2-digit key terms, as e.g. an NT "pipe bend90°" is incorrectly classified as "EN 90" (i.e. a Euronorm 90). Misclassifications of this kind can be corrected by entering "NO" under PARTproject -> General tab -> General menu item -> Similar to standard (optional) [Similar to standard parts (optional)] and regenerating the catalog. The classifications must be checked regularly.
| Note |
|---|---|
A manual entry of a standard classification leads to the same result as the automatic search. The icon is not immediately visible. The field is read during CIP generation when the catalog is published. The system checks whether the value fits into the standards classification and if so, the project is added to the standards classification. If you then install the generated CIP, you will see the icon. | |
When using an ERP link, directories and projects can also be colored based on rules. You can find information on this under Section 5.7.5, “Create and configure roles ” in ENTERPRISE 3Dfindit (Professional) - Administration.
![Tip catalogs [CIP catalog] dialog box](resources/img/img_8ae3024bdeff43a4a58e2cb78e09c960.png)
![Contents [Content]: Classification](resources/img/img_cd3f2537895e418ba495545ae81a0909.png)

![[Caution]](images/caution.png)