5.12.12. Classify BIM
Parts
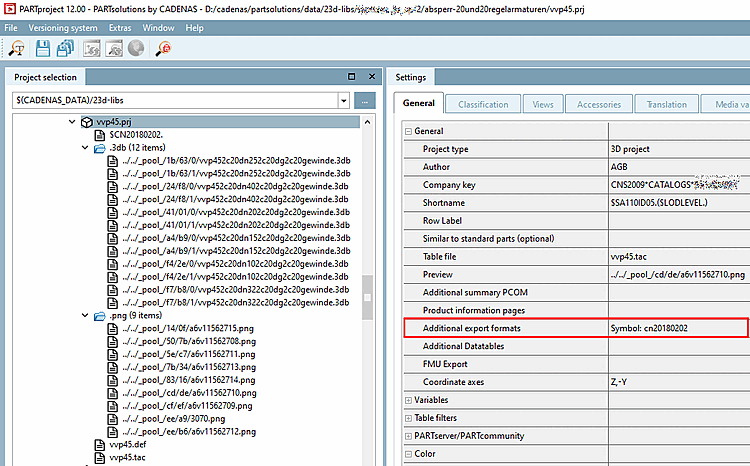
5.12.12.3. Classify symbols (DXF/DWG) as "Additional export formats " (automated)
|  |
| Prev | Next |
5.12.12. Classify BIM
Parts
5.12.12.3. Classify symbols (DXF/DWG) as "Additional export formats " (automated)
| |
| Prev | Next |
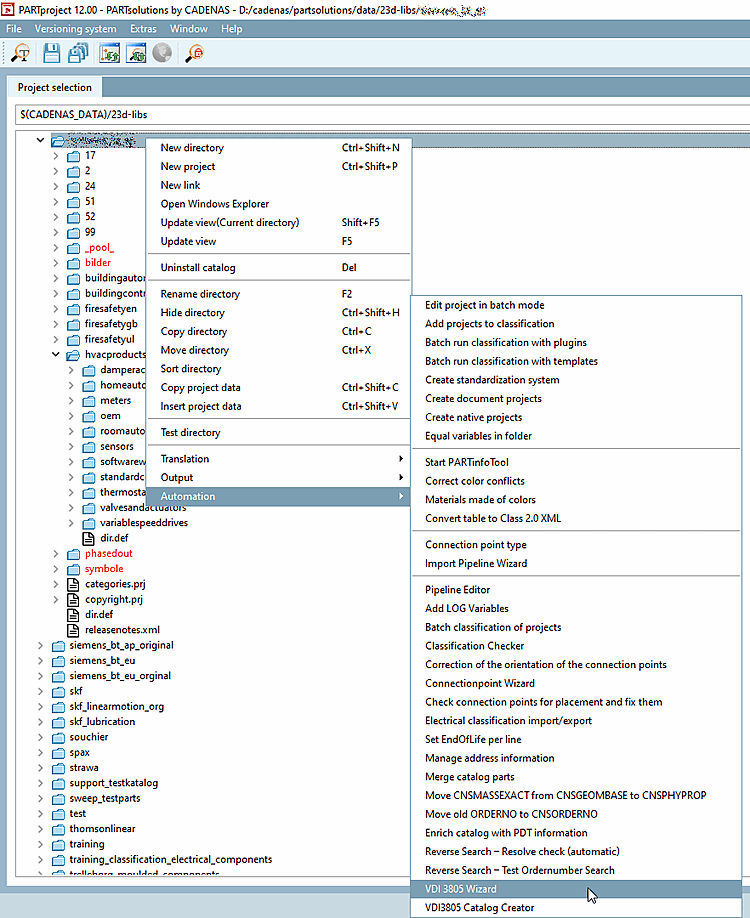
Start the VDI 3805 Wizard in the catalog context menu under Automation.
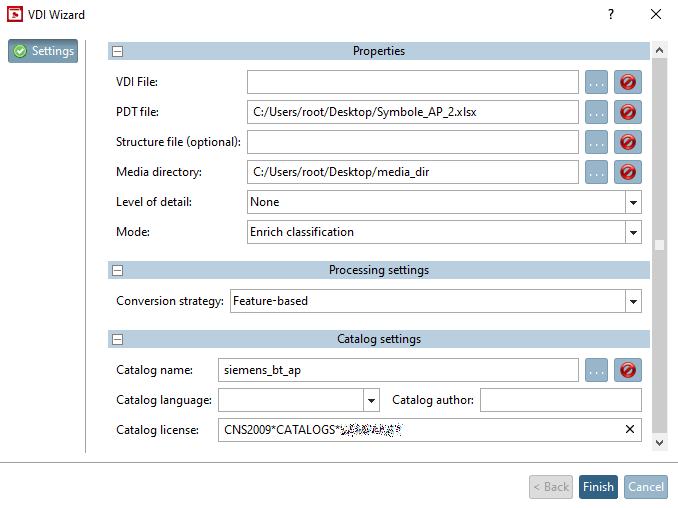
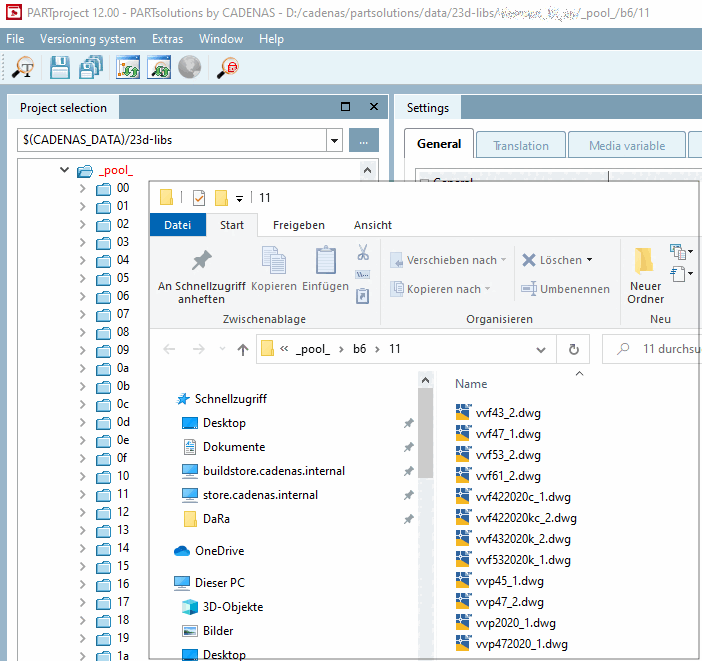
Media directory: The files (dxf/dwg) are copied from the specified directory to the pool folder and the corresponding links are generated accordingly.
The pool folder can be set in the pipeline (under $CADENAS_USER\vdi\).
It is best to delete or rename all pipelines (*.pwp) in the folder $CADENAS_USER\vdi\ folder before you start the import. The pipelines will then be regenerated correctly.
For enrichments under Mode, be sure to select Enrich classification! (The Standard option should only be used for the first initial run)
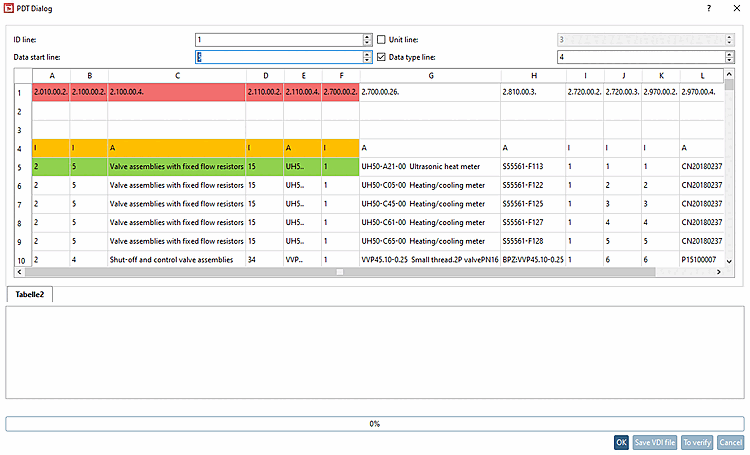
Set the correct line number for ID line, data start line [Data start line], unit line [Unit line] and data type line [Data type line].
The following entries were set automatically:
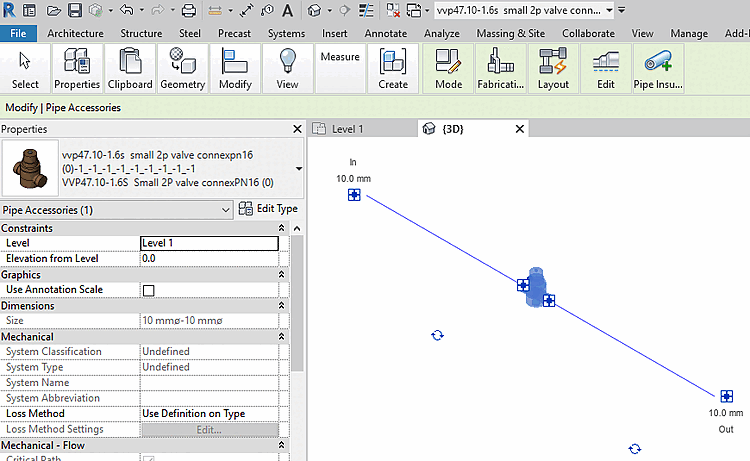
Test export: If the additional export formats are displayed in Revit, everything is set up correctly.
Export a part listed in the PDT.
Export e.g. with "Transfer to CAD [Export to CAD] (Revit: Selected configuration as 3D single part (standard) [Revit: Selected Configuration As Single Part Export (Default)] )"

![Export e.g. with "Transfer to CAD [Export to CAD] (Revit: Selected configuration as 3D single part (standard) [Revit: Selected Configuration As Single Part Export (Default)] )"](resources/img/img_354d22d376304d519d05a259e1542b4c.png)