7.13.5.5.
" Value range assignments" context menu
7.13.5.5.1. Manual
assignment |  |
| Prev | Next |
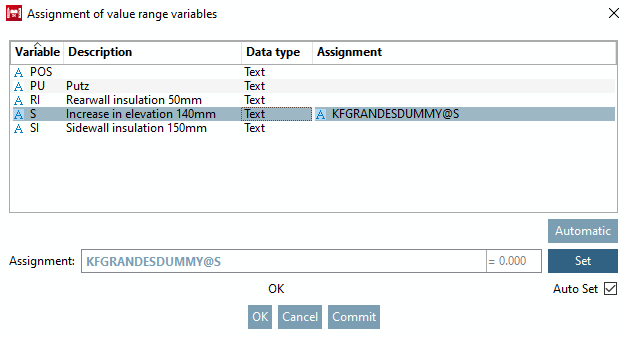
For the first component (usually the dummy component), the assignments must be made manually. For other components, the function usually saves a considerable amount of time (see Section 7.13.5.5.2, “Automatic assignment”).
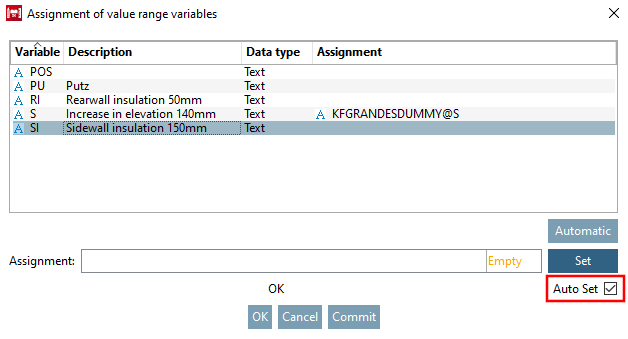
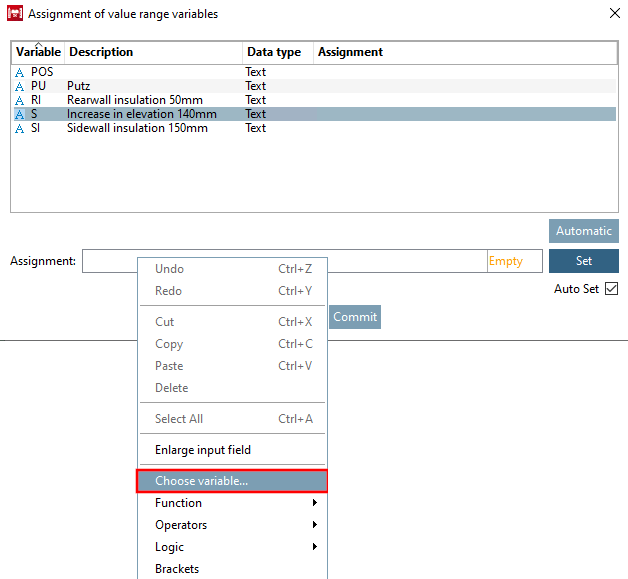
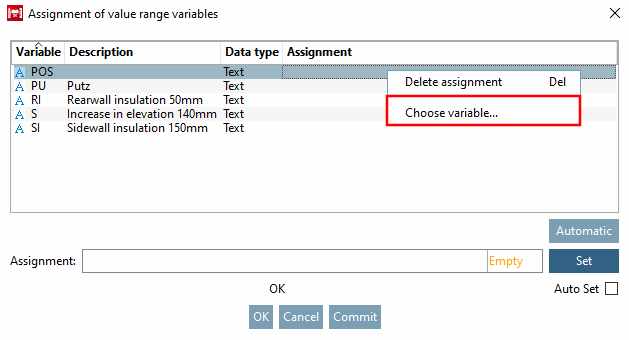
Select the desired variable where you want to make the assignment.
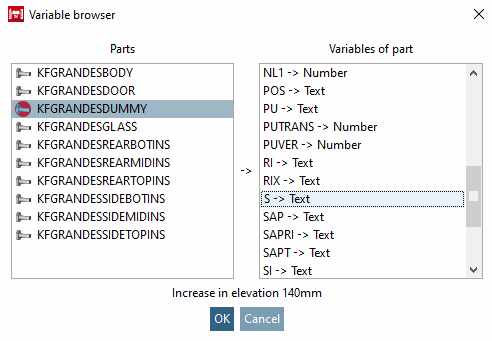
In the Assignment input field, call up the Variable browser using the Select variable [Choose variable...]... context menu command.
Alternatively, use the context menu command on the respective line.
-> The variable browser [Variable browser] opens.
-> The selection is displayed in the input field under Assignment.
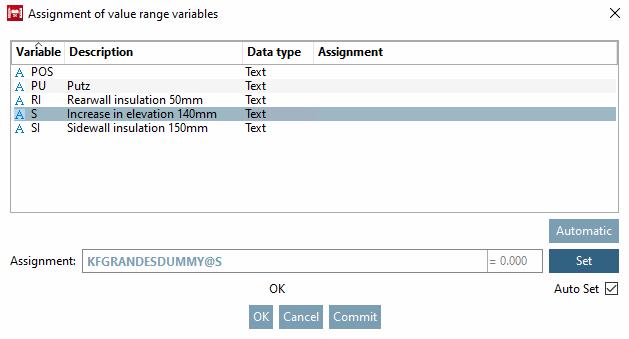
-> The assignment is entered in the respective column.
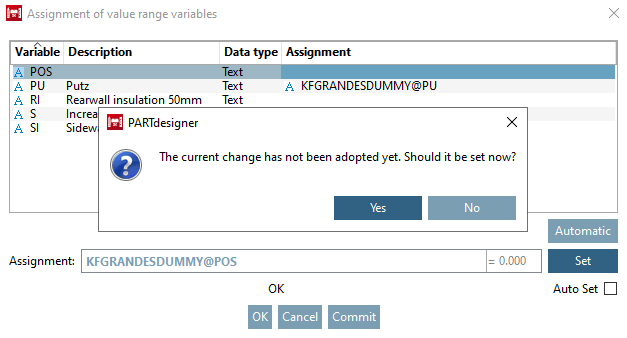
If the Auto set [Auto Set] option is activated, you can simply select the next line instead of clicking the button and the entry will be set automatically. If Auto set [Auto Set] is deactivated, the last entry is lost when you change rows.
If Auto Set isdeactivated and you click or , an error message appears if you forgot to click after an entry.
The data type is checked when mapping value range variables. If an incorrect data type is detected, an icon appears with a tooltip Assignment has incorrect data type [Assignment has wrong data type].
Make all the required assignments as described above and then click .
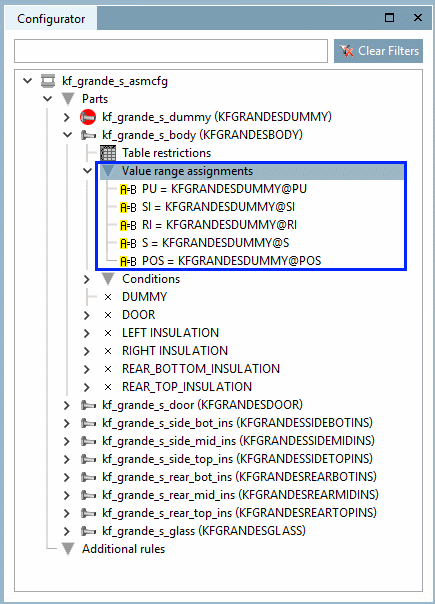
-> The assignments are displayed in the Configurator docking window under the menu item Value range assignments.
![[Note]](images/note.png)